
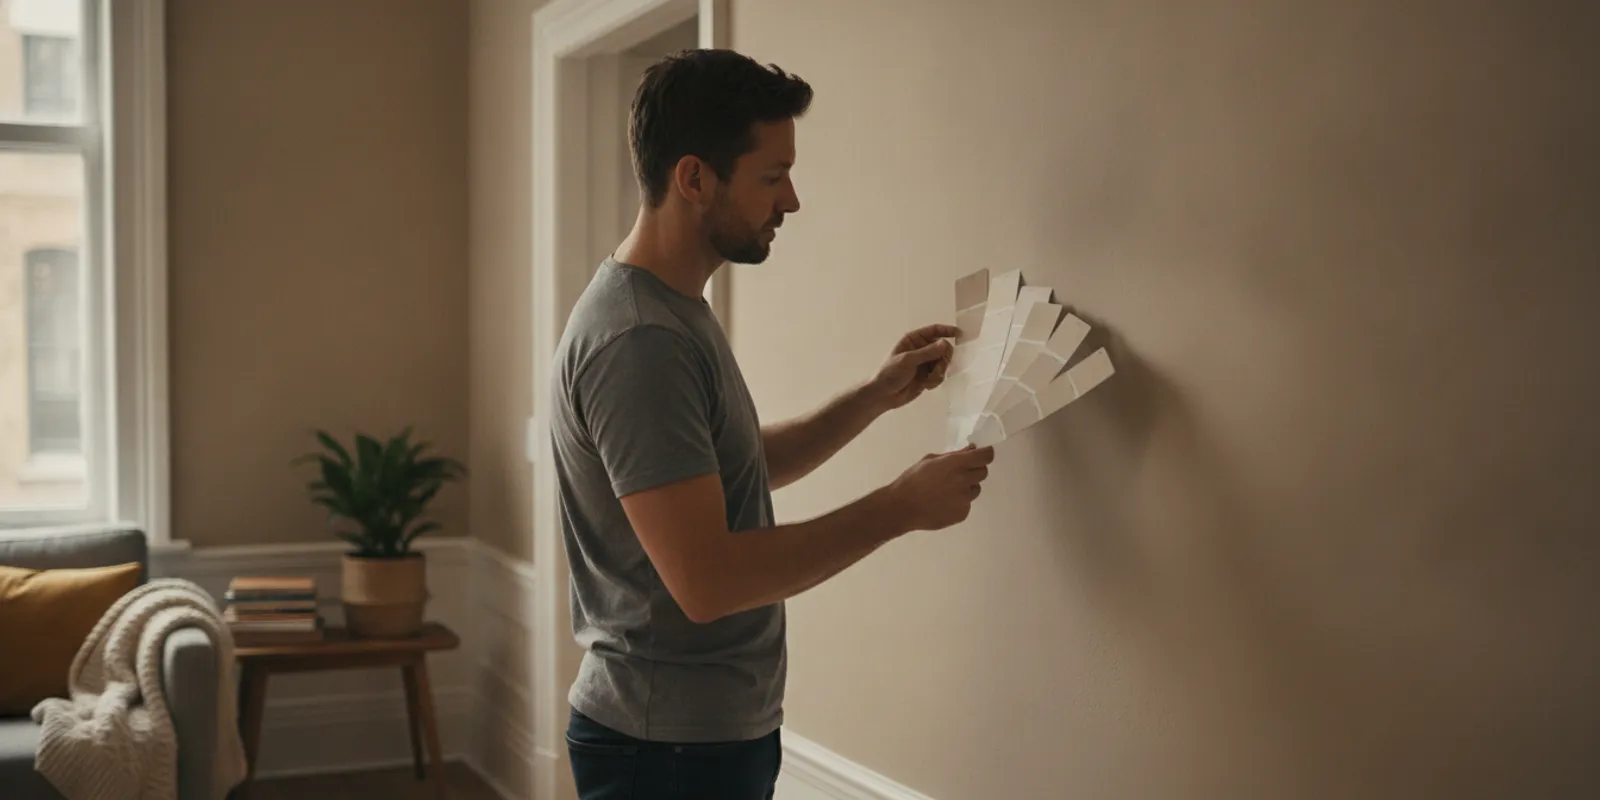
Plan interior painting with practical guidance on color, sheen, lighting, preparation, and estimates for homes and properties in Grant County, Adams County, and Spokane County.
Interior painting can change how a room feels, but choosing a color is only one part of a successful plan. For homeowners, landlords, and property managers in Grant County, Adams County, and Spokane County, the best decisions account for light, room use, wall condition, trim, and future maintenance. A short room-by-room review helps you avoid choosing from a tiny sample card alone and gives you a clearer scope to discuss before work begins.
Request a free painting estimate
What should you decide before choosing interior paint?
Start with the result you want from each room. A quiet bedroom, a bright kitchen, and a high-use hallway may call for different colors and finishes. Write down what the room needs to feel like: calm, brighter, warmer, cleaner, or visually connected to neighboring spaces. This turns an open-ended shopping trip into a choice among colors that suit a purpose.
Next, list what will stay. Flooring, cabinets, counters, furniture, window coverings, and fixed lighting all influence how a wall color appears. A warm wood floor and a cool gray countertop can pull a proposed neutral in different directions. Compare a sample beside those existing materials rather than judging it against a white card in a store.
- List fixed finishes that will remain in place.
- Note which adjoining rooms are visible from the space.
- Decide whether the goal is a quiet backdrop or a stronger color statement.
- Identify practical concerns, such as frequent cleaning or visible wall wear.
Also decide what is outside the painting scope. If cabinets, counters, or trim are being replaced, the final wall color may be easier to choose after those selections are known. For a broader interior update, review the remodeling services and consider the order of related work before settling on final paint decisions.
How does light affect a paint color?
Paint does not look identical at every hour or under every bulb. A wall beside a window may get direct or indirect daylight, while an interior hallway may rely mostly on artificial light. The direction and amount of light can make a color seem warmer, cooler, brighter, or darker than it looked on a small chip. Gloss and nearby finishes can alter the impression further.
Test candidate colors on the actual wall or on large movable sample boards. Look at each sample in the morning, afternoon, and evening, and with the room’s usual lights on. If one wall receives much less daylight than another, check samples on both. A small chip can narrow the shortlist, but it may not show how a color reads across a broad surface.
Keep the samples in place long enough to view them during ordinary use. Stand at the doorway, sit in the room, and look from the main seating or work area. A color that looks attractive close up may feel too strong across the full wall. Compare samples beside trim and major finishes, and view adjoining rooms from both sides of the opening. The aim is not to make every room identical; it is to make each transition feel considered.
How can you narrow a color shortlist?
Rather than testing a dozen unrelated shades, use a simple sequence. First, remove colors that conflict with fixed flooring, cabinets, counters, or fabrics. Second, decide whether the room should feel lighter, more grounded, or more colorful. Third, compare a small group of related candidates under the room’s lighting. If two shades seem almost identical on a card, a larger sample may reveal whether one is too cool or too saturated in the actual space.
For connected rooms, choose a palette with a clear relationship. One approach is to use a shared neutral in the main living area and a related color in a smaller room. Another is to keep walls consistent and let furnishings or artwork supply contrast. Neither approach is mandatory; room layout and sightlines matter. If a doorway frames a strong change, check the colors from the hall as well as from inside each room.
For historical reference on color relationships in interior decoration, see the catalog record for Decorative suggestions: a handbook of color. Treat any general scheme as a starting point rather than a rule. The fixed finishes, light, and intended use of your own rooms should guide the final choice.
Which paint sheen suits each room?
Sheen describes how much light a painted surface reflects. A higher sheen can be easier to wipe in some situations, but it can also draw attention to uneven areas. A flatter finish reflects less light and may soften the appearance of minor surface irregularities. Product formulations differ, so confirm performance and cleaning guidance on the specific paint label.
- Flat or matte
- Typical appearance: Low reflection
- Planning consideration: Can create a soft look; consider cleaning needs and product guidance.
- Eggshell or satin
- Typical appearance: Subtle to moderate reflection
- Planning consideration: Often considered for frequently used walls; check how light reveals texture.
- Semi-gloss or gloss
- Typical appearance: Noticeable reflection
- Planning consideration: May suit selected trim or detail work, but preparation matters because flaws can stand out.
Do not assume one sheen is right for every surface in a property. A bedroom wall, a hallway, a bathroom wall, and door trim experience different use and cleaning patterns. Consider who uses the room and how marks are likely to be handled. If wall texture or old patching is visible, test the intended sheen in a representative area because reflected light can make variations more obvious.
How should color and sheen work together?
Color and sheen influence the finished impression together. A reflective surface catches more light and may make color seem more vivid, while a low-reflection finish can appear more subdued. That does not mean one finish is always better. It means that color samples should be viewed in the finish family you expect to use when possible, especially when the selected color is deep or the wall receives strong side light.
For example, imagine a living room with a broad window and a few shallow wall repairs. A strongly reflective finish could draw the eye toward the repaired areas as daylight moves across the wall. A lower-reflection option may make the wall look calmer, while a separate finish on trim can create definition. The actual result depends on the surface and product, so use a test area and inspect it at different times rather than assuming the color card settles the question.
When testing, label each sample with its color and finish, and keep notes about the wall and time of day. Otherwise it is easy to forget which sample looked best under evening lighting. Do not compare one sample in bright window light with another in a dim corner and treat that as a fair test. Put them in comparable locations, then move them if you need to check different walls.
What surface conditions should you check first?
Before defining the scope, inspect walls, ceilings, trim, and doors. Note peeling paint, nail holes, cracks, stains, rough patches, and areas where old repairs show through. Paint should not be assumed to correct a surface problem by itself. Some conditions require repair or preparation before a new finish can look even.
Walk the room in a consistent order: begin at the doorway, move around each wall, then check the ceiling, trim, and doors. Mark the location of each visible issue on a simple room sketch or take a photo. Distinguish between a small isolated mark and a broad area of damage. That distinction helps explain what you see without presuming how it must be repaired.
- Identify every wall or surface you want included.
- Point out stains, peeling, cracks, visible patches, or rough areas.
- Describe current colors and whether a major color change is planned.
- Note trim, doors, ceilings, and adjoining rooms that may affect the scope.
- Ask what preparation is included and what could change after inspection.
Furniture and stored items also affect the plan. Note whether the room is occupied, what needs to be moved, and whether access to all walls is clear. A single accent wall differs from a full room that includes ceiling, trim, doors, and closets. For isolated wall damage or related small fixes, you can review AllFix handyman services and describe the repair along with the painting you are considering.
How can you plan painting around other interior work?
Sequence matters when painting is part of a room update. Repairs, installation work, and surface preparation generally need to be considered before final coats. If cabinets, counters, fixtures, or trim are changing, decide how those tasks relate to painting before setting expectations for the finished room. A clear sequence reduces the chance of planning a final color around a finish that is later replaced.
For a kitchen or bathroom update, make a list of components that will stay and those that may change. For a basement refresh, distinguish between painting alone and a larger finishing scope. For a rental turnover, record each room separately and identify any damage that needs attention before routine repainting. The right work plan depends on the property and the condition found; do not assume every wall can be treated the same way.
AllFix is a locally owned, licensed, bonded, and insured contractor serving Grant County, Adams County, and Spokane County. Its work includes handyman repairs and maintenance, kitchen, bathroom, and basement remodeling, licensed residential electrical work, and commercial property improvements. That range can be useful when more than one kind of work is being considered, without implying that every task belongs in one visit. Check the service area information to confirm what is available for your property’s location.
What should landlords and property managers record?
For rental properties, a consistent record can make future touch-ups and turnovers easier to plan. Keep the room name, color identifier, finish, and product information when available. A note that says only “light gray” may not be enough to identify a matching product later. Also record which surfaces were painted and whether trim or ceilings used separate choices.
During a turnover inspection, separate cosmetic wear from conditions that may need assessment. A scuff, a stain, peeling paint, and a crack are not necessarily the same kind of work. Create a checklist by room, then attach photographs and a short description. For example, a hallway list might include the long wall with scuffs, a damaged corner near a doorway, and trim with visible wear. This gives the estimate conversation concrete details while leaving repair decisions open for review.
If a property manager oversees more than one unit, use a repeatable template. Include unit number, room, surfaces requested, color information, visible damage, occupancy status, and access considerations. Keep scope notes separate from preferences: “paint walls and trim” is a scope request, while “prefer a warm neutral” is a design preference. Separating the two helps everyone confirm what is being considered.
What details make an estimate request more useful?
A useful request explains the property, rooms, and desired scope. Include whether you are a homeowner, landlord, or property manager, and whether the space is occupied. Approximate room dimensions can help describe the project, but you do not need a perfect drawing before asking for a professional assessment.
Share photos that show both the whole room and any surface issues. Mention whether a major color change is planned, which surfaces should be included, and whether related repairs or remodeling are under consideration. If you have preferred colors or products, identify them as preferences rather than assumptions about the final specification. Ask what preparation is included, which surfaces are covered, and what decisions need to be made before work begins.
Before the conversation, arrange your information in three groups: the work requested, the conditions observed, and the choices still undecided. For instance, requested work could be walls and trim in two bedrooms; observed conditions could be nail holes and a stain near one window; undecided choices could include the final neutral and sheen. This prevents a color question from obscuring a repair concern, or vice versa.
AllFix uses a free-estimate model rather than a published price list. After a form submission, the company communicates within one business day; service response times may be one to three business days. Use the contact page or call (509) 761-4778 to describe the rooms and work you are considering. Include your location so the relevant service availability can be confirmed.
How can commercial property owners prepare?
For a commercial interior, identify the spaces, their use, and the surfaces involved. A reception area, staff room, corridor, and vacant unit may have different priorities and access needs. Record whether work would need to be coordinated around occupants, furniture, or other interior updates. Avoid assuming residential product choices or routines are automatically suitable for a particular commercial setting.
Commercial property improvements, remodeling, tenant improvements, and facility maintenance are part of AllFix’s service offering. Electrical services are residential only, so do not include commercial electrical work in the request. To understand the relevant property-improvement scope, review commercial services and describe the location and areas to be assessed. Service fit and availability should be confirmed for the specific property.
Frequently Asked Questions
Should every room use the same wall color?
No. A consistent palette can help connected spaces feel coordinated, but individual rooms can have different colors when their light, use, and adjoining finishes support the choice. Test samples in place and check transitions from both sides of each doorway.
Is a higher sheen always easier to maintain?
Not necessarily. Product performance varies, and higher reflection can make surface flaws more noticeable. Consider cleaning needs, wall condition, product guidance, and the appearance you want before selecting a finish.
Can paint cover stains or damaged walls without preparation?
Do not count on it. Stains, peeling, cracks, and prior repairs may need attention before painting. Include those conditions in your estimate request so the scope can be assessed instead of assuming a coat of paint will resolve them.
How many colors should I test?
There is no fixed number. Narrow choices by considering fixed finishes and room purpose, then test a manageable shortlist under real lighting. Compare samples at different times of day and keep notes about where and when each looked best.
How do I request an interior painting estimate?
Use the contact form or call (509) 761-4778. Describe the rooms, surfaces, visible repairs, location, and any related interior work you are considering.
Get a free estimate for interior work
With samples tested in place, a room-by-room surface list, and repair needs noted up front, you can make more confident choices and have a more useful conversation about your interior painting project.
Tell Us About Your Project
Fill out the form below and we'll contact you within 1 business day.